Click HERE for an interactive tutorial. Scroll to the bottom for animated steps.
Detailed Step-by-Step Tutorial
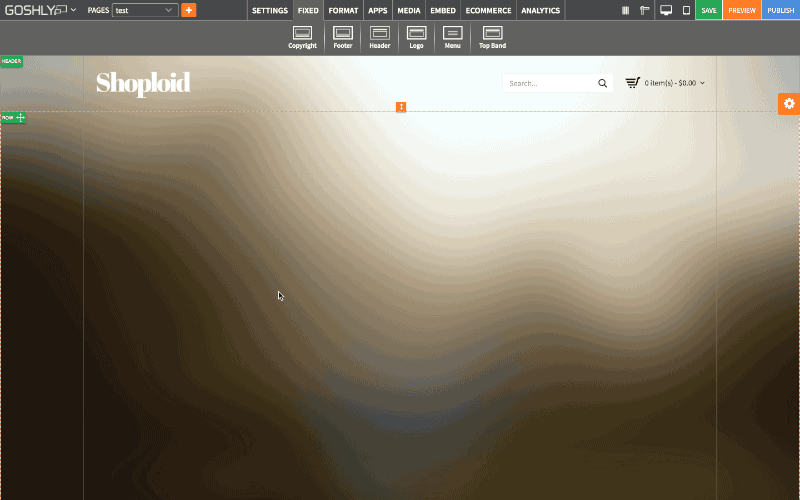
Add Heading
- Go to Format at the top of the page.
- Drag Heading widget to an area of the page where you'd like to add it to.

Heading Settings
- Double-click on Heading or highlight it and go to Settings pane > APP
General Settings
- Title: Enter the title.
- Show as Tooltip: Show the title as tooltip (text that appears when your mouse hovers over the heading).
- Top: Set top margin.
- Left: Set left margin.
- Width: Set the width.

Background:
- Color: Choose background color.
- Opacity: Set opacity for the background.
- Image: Enable to use an image as a background.
- Size: Choose background size (i.e. auto, 100%, etc.).
- Position: Set position of the background.
- Repeat: Choose repeat type for the background.

Border:
- Color: Choose border color.
- Style: Chose border style.
- Width: Choose the width of the border.
- Radius: Choose border corner radius.

Box Shadow:
- Shadow: Toggle ON to create a shadow for the heading.
- H-Shadow: Set horizontal position of the shadow.
- V-Shadow: Set vertical position of the shadow.
- Blur: Set blur value for the shadow.
- Spread: Define how far the shadow spreads.
- Color: Set the color for the shadow.
- Style: Select between inset and outset.

Customize / Edit Content
- Double-click on the heading area.
- Edit content or use the formatting toolbar to customize it.

Toolbar allows to make the following formatting changes to the content:
- Bold: Make the text bold.
- Italic: Make the text Italic.
- Underline: Underline the text.
- Strikethrough: Strikethrough the text.
- Align text left: Align the text left.
- Center text: Center the text.
- Align text right: Align the text right.
- Justify: Justify the text.
- Insert unordered list: Turn selected paragraphs into a bulleted list.
- Insert ordered list: Turn selected paragraphs into a numbered list.
- Indent: Enable this option to indent the selected text.
- Insert hyperlink: Use to make selected text hyperlinked.
- Create table: Click on the icon to create table.
- View HTML: Click on this icon to view the HTML code for the text box.
- Add Tooltip: This option allows you to add tooltip to the selected text.
- Remove Tooltip: This option allows you to remove tooltip from the selected text.
- Format: Apply text styling.
- Font: Change font.
- Font size: Change size of the font.
- Font Color: Change color of the text.
- Font Background: Add / change background color for the text.
Comments