
Click HERE for an interactive tutorial. Scroll to the bottom for animated steps.
Detailed Step-by-Step Tutorial
Add Content Rotator
- Go to APPS at the top of the screen.
- Drag Content Rotator widget to an area of the page where you'd like to add it to.

- Double-click on Content Rotator or highlight it and go to Settings pane > APP.
- If you've previously created a content rotator, you can select it from dropdown.

Manage Content Rotators
Use this menu to manage existing content rotators and their lists, as well as to create new ones.
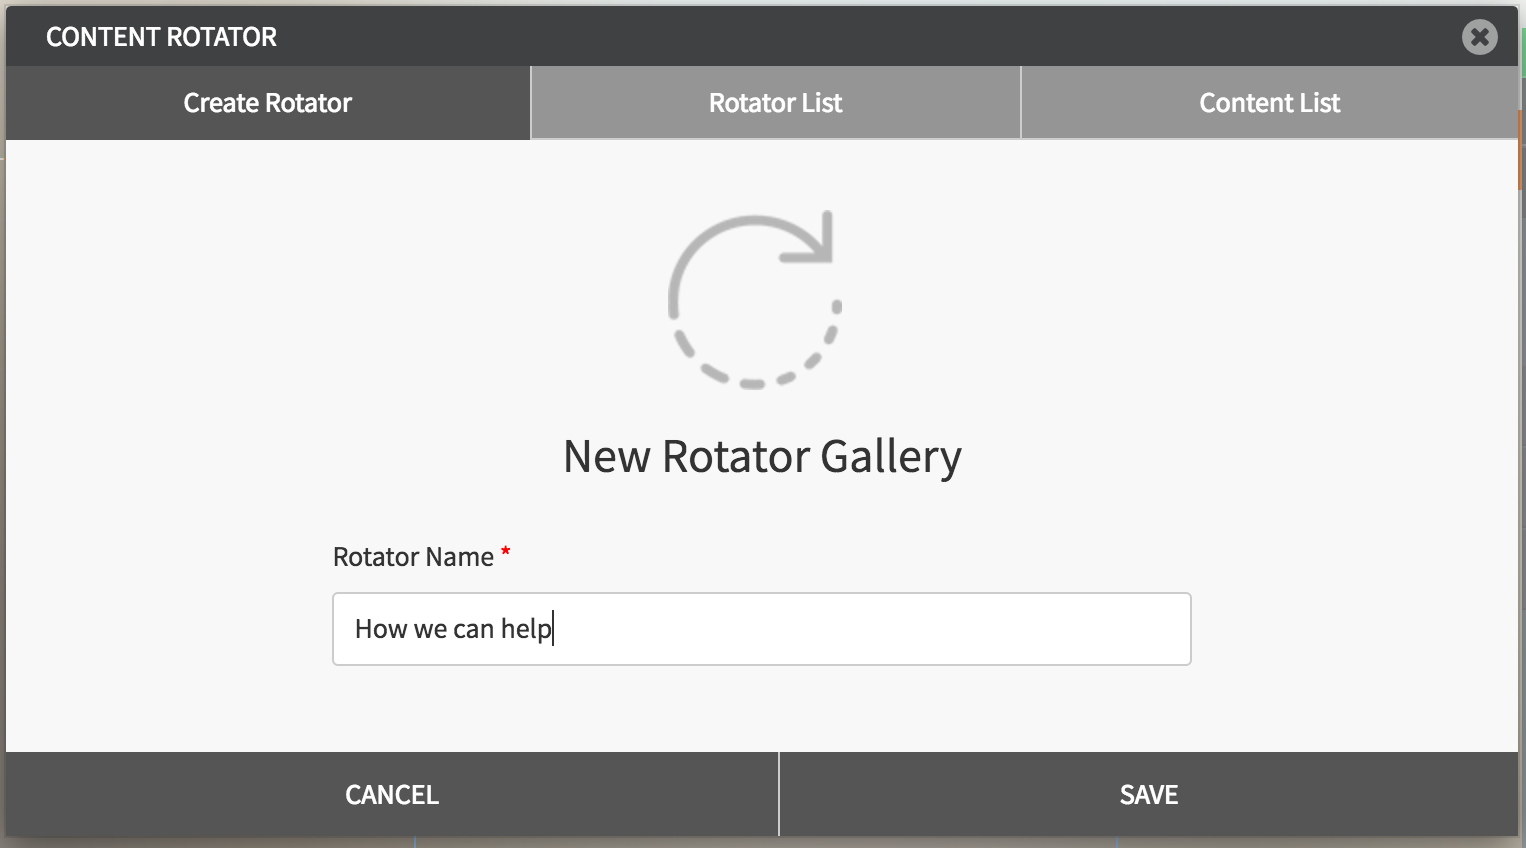
Create Rotator
- Enter Rotator Name.
- Click Save.
- Enter Content List Name.
- Enter and format content.
- Click Save.

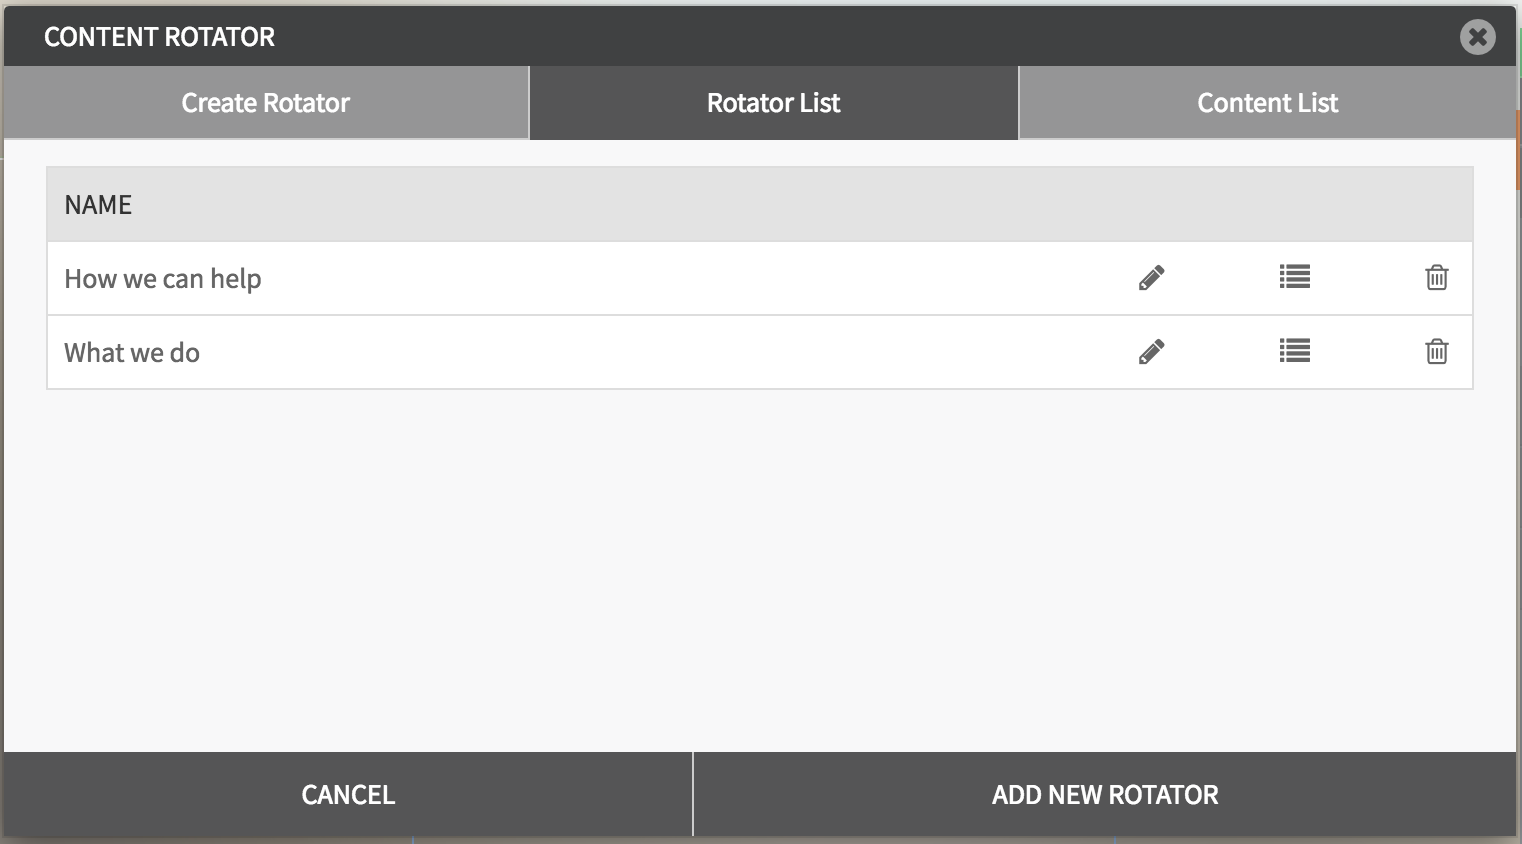
Rotator List
- View the list of your rotators. Click Edit button to edit them, or Manage Content List button to manage the content.
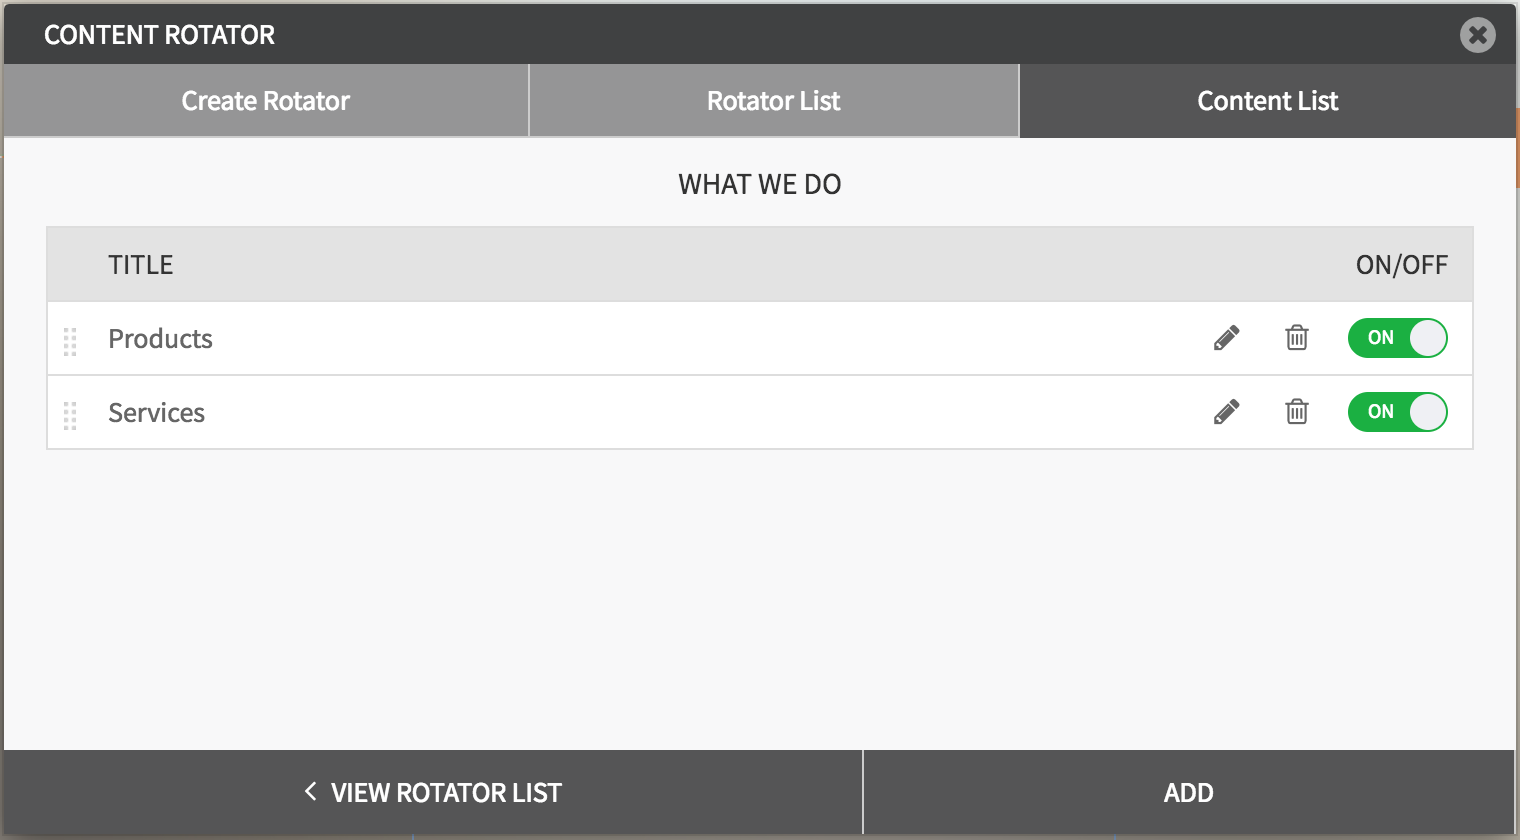
Content List
- Displays the list of rotating content. Click Edit for existing content to edit, delete or turn it OFF/ON.
- Click ADD button to add another piece of content.
General Settings
- Title: Enter the title.
- Show as Tooltip: Show the title as tooltip (text that appears when your mouse hovers over the content rotator).
- Top: Set top margin.
- Left: Set left margin.
- Width: Set the width.

Background:
- Color: Choose background color.
- Opacity: Set opacity for the background.
- Image: Enable to use an image as a background.
- Size: Choose background size (i.e. auto, 100%, etc.).
- Position: Set position of the background.
- Repeat: Choose repeat type for the background.

Border:
- Color: Choose border color.
- Style: Chose border style.
- Width: Choose the width of the border.
- Radius: Choose border corner radius.

Box Shadow:
- Shadow: Toggle ON to create a shadow for the tabs.
- H-Shadow: Set horizontal position of the shadow.
- V-Shadow: Set vertical position of the shadow.
- Blur: Set blur value for the shadow.
- Spread: Define how far the shadow spreads.
- Color: Set the color for the shadow.
- Style: Select between inset and outset.

Comments