
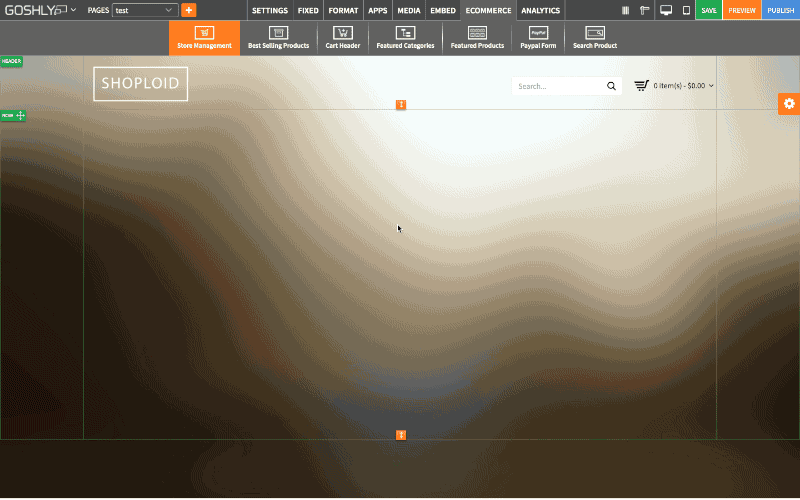
Click on the animated image below for a step-by-step interactive tutorial.
Detailed Step-by-Step Tutorial
To manage website page properties:
- Select a page you'd like to manage properties for from the Pages dropdown.

- Go to PAGE tab in the Settings pane.

Page Details
- Page Name: Enter a name for the page.
- Page Title: Enter a title for the page.
- Page Description: Enter a description for the page.
- SEO (Google) Keywords: Enter keywords for the page SEO.
- SEO (Google) Description: Enter a description for the page SEO.
- CSS Class Name: Enter a name for the CSS class for the page.
- Enable SSL: Toggle ON to enabled SSL for the page.
- Disable Right Click: Toggle ON to disable right click functionality on the page.

One Page/Parallax Scroll
- Enable One Page/Parallax Scroll: Toggle ON to enable parallax scroll effect for the page.
- Stick Menu to Top: Toggle ON to stick the page menu to the top of the page (menu must be placed into the top band in order to use this property).
- Show Back to Top Arrow: Toggle ON to show the back-to-top arrow on the page (takes user back to the top of the page).
- Arrow Color: Choose black or white color for the back-to-top arrow.
- Align page rows for the parallax effect.

Page Sections
- Top Band: Toggle ON to enable top band on the page.
- Header: Toggle ON to enable header on the page.
- Footer: Toggle ON to enable footer on the page.
- Copyright: Toggle ON to copyright on the page.

Background
- Color: Toggle ON to enable background color for the page. Choose the color from the color picker.
- Opacity: Set background color opacity with the slider.
- Image: Toggle ON to enable image as the background for the page. Click Select to choose or upload the image for the background.
- Size: Select the background size from the dropdown list.
- Position: Select the background position from the dropdown list.
- Repeat: Choose repeat effect for the background from the dropdown.
- Apply on all Pages: Toggle ON To enable the same background properties on all pages.

Image Rotating Background
- Select background to show on this page: If you've previously created image galleries, you could pick one from the dropdown to use as an image rotating background.
- Click Apply button to make the selected gallery active as an image rotating background. Click Reset to reset the background.
- Image Rotating Background: Toggle ON to enable the feature.
- Apply On All Pages: Toggle ON to apply the image rotating background and its settings on all website pages.
- Create/Manage: Use the option to either create a new gallery or manage existing ones.

Image Rotating Background (Settings)
- AutoPlay: Toggle ON to have the background rotate images automatically.
- Image Delay (sec): Set image rotation delay in seconds.
- Show Arrow: Toggle ON to show an arrow that allows manual rotation.
- Show Thumb: Toggle ON to show gallery images' thumbnails.
- Show Play/Pause: Toggle ON to include play/pause button for the image rotation.
- Transition: Choose transition type for the image rotation.
- Transition Speed (sec): Set transition speed in seconds.
- Easing Effect: Select easing effect from the dropdown list.
- Show Timer: Toggle ON to display timer for the image rotating background.
- Timer Type: Choose timer type from the dropdown list.
- Allow Keydown: Toggle ON to allow keydown.

Video Background
- Video: Toggle ON to enable video background.
- Select: Use the button to select a previously uploaded video file or upload a new one. NOTE: video must be in .MP4 format and under 50MB in size.

Social Media Share
- Show Smart Layers: Toggle ON to enable social media share options.
- Share Buttons: Toggle ON to display share buttons.
- Position: Choose buttons' position.
- Share Icons: Choose Automatic option and indicate a number of desired share icons to have the site automatically select share icons, OR choose Select option to manually enable share icon for each service.
You can use Apply to all pages option to use the same social media share preferences on all website pages.

Popout
- Create/Manage Popout: Click to create a new popout or to manage existing ones.
- On page load: Toggle ON to enable popout loading on page.

Copy Page
- Page Name: Enter a name for a new copy of the page.
- Copy Page: Click the button to create a copy of the page.

Comments